Tuesday, September 14, 2010

Birthdays and the cakes that go with them


I wanted to take a moment to share the birthday cakes I've made for myself, my husband, and Judah.

My birthday was July 16, and I made a double layer sourdough cake with a recipe out of the cookbook "Healthy Choices." Pretty tasty. I used a regular powdered sugar frosting and had a few small raspberries I used to decorate it.

My husband's birthday was August 6, and he requested a coffee cake. I wanted to make a healthier version of the coffee cake he likes, so I made a Strawberry Rhubarb Coffee Cake recipe from "Healthy Choices" into a Sourdough version. I pulled it out of the oven and stuck candles in. Dumb idea. Candles are made of wax and wax melts when your cake is hot. Otherwise, it tasted really good. Got a good review from the birthday boy.

Yes, I'm obsessed with sourdough.

Because I even made a different sourdough chocolate cake recipe for my son Judah's 3rd birthday party this past weekend! (We celebrated early... maybe i'll make another one for his actual birthday... :-) ) This recipe came from A Little Bit of Spain in Iowa's blog. I just couldn't resist. And I made it in a bundt pan, which turned out really great! Again, I used a powdered sugar frosting, which wasn't my first choice, but we've been having a hard time finding local maple syrup and honey, which are my sweeteners of choice.

Andrew turns "one" in October.... what kind of cake will he get. I'll leave you hanging... to be continued...

Monday, August 16, 2010

Preserve the Bounty Challenges


I have been holding onto this post for about a month now. A bit ridiculous, I know, but I've been reeeeeally busy with, well... preserving the bounty!

We have three locations of gardens that we planted earlier this summer: one planted in early June at my husband's grandmother's, another at his employer's, and one planted early July at our cabin when we arrived here. Our intention was to grow and preserve as much food as we could to help keep our food costs as low as possible this upcoming year.

So when I heard about Nourished Kitchen's Preserve the Bounty Challenge I jumped at the chance to learn some new methods for preserving food. Here were the five weeks of challenges:

Week 1: Fermenting
Week 2: Preserving in Oil
Week 3: Preserving in Vinegar
Week 4: Preserving in Booze
Week 5: Sun drying, Oven drying, or Dehydrating

I was already fermenting food before I received the first week's challenge, primarily pickles and sauerkraut in some crocks I discovered in my mom's and grandma's basements.

In this photo you see some fermented items in jars (beet sticks, snap peas, sauerkraut), and the lovely 1 gal. crock I bought my husband for father's day this year.

If you're interested in lacto-fermenting, there are loads of resources out there. I like the book "Wild Fermentation" by S. Katz. Plus, there are loads of blogs out there. Here are a few links for you:
Pickles--http://spaininiowa.blogspot.com/2009/09/preserving-cucumbers.html
Beets and latin american sauerkraut--
http://spaininiowa.blogspot.com/2010/04/lacto-fermentation-traditional-and.html
A larger batch of sauerkraut-- http://www.wildfermentation.com/resources.php?page=sauerkraut
Nourishing Tradition's sauerkraut recipe-- http://blog.healthy-green-lifestyle.com/making-sauerkraut.html
I thought I'd try fermenting some kohlrabi with caraway seeds... it turned out great! Tastes just like sauerkraut, but in the stick form. Also, beet stalks... you know, the part of the beet plant between the root and the leaf? Beets are loaded with nutrients, and we wanted to see if they were worth saving... they actually taste not that bad after fermentation!


For weeks two and three, I'd never tried preserving in oil or vinegar, so I was a little hesitant to get started. But I finally did preserve some hot peppers in oil and raw apple cider vinegar, and some zucchini in some vinegar. It was so easy, I'm not sure why I put off the process so long! (Instructions via the Nourished Kitchen emails)

This is some oil preserving some spicy peppers!

To Preserve in Oil (Preferably Olive Oil):
  • Clean your vegetables and pack them in a quart-sized mason jar.
  • Add spices and herbs that suit you.
  • Add about 1/4 cup cider or wine vinegar, preferably raw.
  • Cover with oil.
  • Allow to marinate at room temperature for at least a month, shaking periodically to distribute the the vinegar.
  • After a month, you can open the jar, scoop out what you need, place the lid back on the jar and continue storing in a cool, dark place.
To Preserve in Fat (Preferably Butterfat):
  • Clean and mince your vegetables and herbs.
  • Heat a few tablespoons of fat in a skillet and gently fry 1/2 to 1 cup minced vegetables and herbs in the fat until fragrant and soft.
  • Allow the seasoned fat to cool.
  • Fold the vegetables and seasoned fat into softened butter.
  • Mold and chill in the refrigerator, well covered, for several months.
To Preserve in Vinegar:
  • Clean your vegetables, herbs or fruits thoroughly and pat them dry.
  • Pack the vegetables, fruits or herbs in a quart-sized jar.
  • Bring vinegar and spices of your choice to a boil, pour this mixture over vegetables or fruits (but not herbs), cap and store.
  • If preserving herbs, simply pack the clean herbs in a jar, cover with vinegar, cap and store.

For week four, I marched myself into the local liquor store and was immediately overwhelmed by all the liquor choices... I don't buy alcohol all that much! I finally found vodka to bring home to preserve some of the wild plums I've found in abundance behind our house! Another easy thing to do!

To Preserve in Alcohol:
  • Clean your fruits, and peel them if their skins are thick and slice them if they are large.
  • Pack a quart-sized mason jar loosely with the fruit.
  • Add the spices of your choice (vanilla bean is lovely).
  • Heat about 3 cups to 1 quart alcohol along with 1/4 cup to 1/2 cup unrefined cane sugar and stir it until the sugar is disolved into the alcohol.
  • Pour the sweetened liquor over the fruit, cap and store until next summer, enjoying the fruit throughout the cold months.

For week five, I had already dehydrated some zucchini since my brother had brought me soooo much, and I didn't know quite what to do with it all. I really would like to sun-dry something, but you need to have a temperature of at least 85 degrees Farenheit, and for this time of year way up north like we are, that just is NOT going to happen. Thankfully I have a dehydrator! It's a cheap Ronco I found at a rummage sale, but it works for now.

To Sun dry foods:
  • Clean your foods and pat them dry.
  • Slice tomatoes and large fruits into 1/4-inch slices, but leave berries and grapes whole.
  • Rest the fruit on your trays or baking sheet or whatever contraption you figure'll work for you.
  • Make sure to cover the fruit with a cheesecloth or additional screen to prevent critters from stealing your goodies.
  • Leave the food out in the sunniest place in your greenhouse, porch, patio or yard (at least 80+ degrees), and let them dry until they're firm, but pliable.
  • Pull them in at night, or when it becomes cloudy, and put them back in the sun when you can.
  • This can take 2 days or longer depending on the temperature and humidity of your region.
To Oven dry foods:
  • Clean your foods and pat them dry.
  • Slice tomatoes and large fruits into 1/4-inch slices, but leave berries and grapes whole.
  • Rest the fruit on baking sheets.
  • Turn your oven on to its very lowest setting, and place the baking sheets in the oven.
  • Dry them in the oven for 6 to 12 hours, or until they become dry, but pliable like raisins.
To dry foods in a dehydrator:
If you're looking for a good dehydrator, I strongly recommend the Excalibur brand (see sources). They are expensive; however, if you intend to incorporate dehydrator or drying as a primary method of food preservation in future years, the expense is worth it and you can also use them to produce other foods (bread, yogurt, crackers etc.)
  • Clean your foods and pat them dry.
  • Slice tomatoes and large fruits into 1/4-inch slices, but leave berries and grapes whole.
  • Rest the fruits on the trays of your dehydrator and dehydrate at the temperature recommended by your dehydrator's manufacturer.
  • This will usually take between 10 and 14 hours.
Whew! Even though an early frost got most of my tomatoes, I'm still swimming in produce, since my parents just visited and brought some more squash and zucchini. But they also brought a freezer that we got off craigslist for$50! Woohoo! And it's nearly full with some meat we bought. So we shouldn't be going hungry this winter, needless to say.

I hope you can preserve some bounty too. It's fun and satisfying, in more ways than one!

Wednesday, August 4, 2010

Sourdough Egg Noodles, or Pel'meni


I've been wanting to try out this recipe for at least a year, and only just now decided to do it. The recipe from the Weston Price Foundation's website is about how to make a fermented dough for making the Russian version of ravioli. The author translated a modern Russian cookbook and gave her take on how to do it, which I followed.

Pel'meni Dough
  • 3 egg yolks (from pastured chickens)
  • 1 c. of whey
  • pinch of salt
  • 2+ c. whole wheat flour (I ended up using 3 1/2 c.)

Filling:
  • pre-cooked ground carrots, celery, and steak (that's what I had on hand, but you could just just about anything you could come up with)
  • seasonings, like salt and pepper

1. Beat the egg yolks, whey, and salt together. Add to the flour in a bowl.
2. Mix/knead together and add additional flour until the dough is nice and elastic. This is what it looked like for me.
3. Let sit on the counter for a total of two to three days. After one day, knead in some more flour (I think I measured in about 1/4 c.) and let sit another day. The directions say to knead in some flour once or twice a day, but I just did at night before bed at the end of day one and day two. This is what the dough looked like after day one. It acted like bread dough, rising like it did!
4. After three days, I ended up putting the dough into the fridge because I didn't have time to deal with it right away, and it was really hot and humid here. When I finally got to it, I rolled out some dough, and made some filling to put in it, and rolled it up, pinching the edges closed.
5. Put on pan and freeze it for at least 30 minutes before boiling it in water for about 12 minutes, although you could boil it in chicken broth for more flavor. They puff up quite nicely in the water. Here is a picture of my final product. As you can see, I'm not really uniform in how I make it.
And here's my little helper. For some reason he wanted to wear a stocking cap. He wanted to be the one to put them on the pan.

I don't have a good final picture, because we were too busy eating them to think about pictures!

Verdict: They were very tasty and filling, but not dense and heavy. These would definitely be a good thing to make up ahead of time, and would make a quick meal. I'll definitely make these again! If you want more details of the recipe, go to the website I linked to above.

Tuesday, August 3, 2010

Nine month mark has come and gone

Yes, Andrew is already 9 1/2 months now, but wanted to share some photos around the 9 month mark anyway. It's fun to see his little personality coming through. He is good at entertaining himself. But when he's hungry or dirty, he lets me know. Today he started trilling his tongue! He loves his big brother, and sometimes they have giggle fests. Andrew does NOT like our chickens; his lower lip starts to jut out when he gets too close. He does like to eat grass, and put anything in his mouth, so I've had to go digging several times. And he has a strange obsession with the toilet.

Here we are at the Roseau County Fair on 7-21. He was pretty happy for being beyond exhausted.
While at the fair, Judah was looking forward to sitting on some tractors. But they were all locked except for one with an open cab. What good!
Here we are on 7-22, the nine-month birthday.

This is on 7-29. He was having a photogenic day, so I took a bunch of photos.
He likes to look at books by himself.
You can see some of the top teeth... he's got 8 now!
And this is 7-31. Move over milk mustaches... these are my kefir mustache boys!

Tuesday, July 20, 2010

Zucchini and Carrot Ribbons


While at my parents', I stumbled across a little cookbook called “101 Essential Tips: Cooking with Vegetables.” It mentioned an interesting way to prepare zucchini and carrots that I’ve never heard of before: cutting the veggies into long fine strands or ribbons with a swivel-bladed vegetable peeler. I was intrigued! I didn’t follow the recipe, except in making the zucchini and carrot “ribbons”. I thought the results were quite tasty!

Zucchini & Carrot Ribbons

  • 3-4 Large Carrots
  • 2 Medium Zucchini
  • Salt & Pepper
  • Butter
  • Dill, fresh or dried

  1. Cut carrots and zucchini into strands with the vegetable peeler.
  2. Pour ½ in. water into pan and get to a rolling boil.
  3. Add carrot ribbons. Cover and cook for 2-3 minutes.
  4. Add zucchini and cook another 1-2 minutes. (Don’t cook the zucchini too long, it will get soggy fast!)
  5. When done, remove from heat and drain.
  6. Top with butter and seasonings, and serve! It should serve about 4.

Thursday, July 15, 2010

Honey, we're home!


It's been a long time in coming, but FINALLY we're calling northern Minnesota HOME!

After a week at my parents' in Iowa and a family reunion for my side at the end of June/beg. of July, we made the trip up to our new home on July 5th (Jeff's and my 8th anniversary!). We started unpacking that week into the log cabin we're renting, then traveled down to Jeff's grandma's house for a mini-reunion on Saturday. And Sunday, Jeff officially became a Pastor, and me, a pastor's wife, and my boys, rotten PK's... haha!

Now hopefully things will settle down... well, at least we will stop living out of suitcases.

So now I'll post some pictures to tell the story of the past month!

June 20-Seminary graduation.
June 20-Father's Day
June 21-Judah discovered cousin Johnny's bike. He's smiling. Need I say more?
June 22-Andrew is 8 months!
June 25-Visiting Great Grandma Ginny in Iowa.
June 25-Do you think Judah likes raspberries?
June 29-Andrew likes standing up next to things. Still needing help at this point. He likes to walk if you hold his hands. Will straighten his arms and legs while on the ground. Fast crawler.
July 1-Bathtime fun with Andrew!
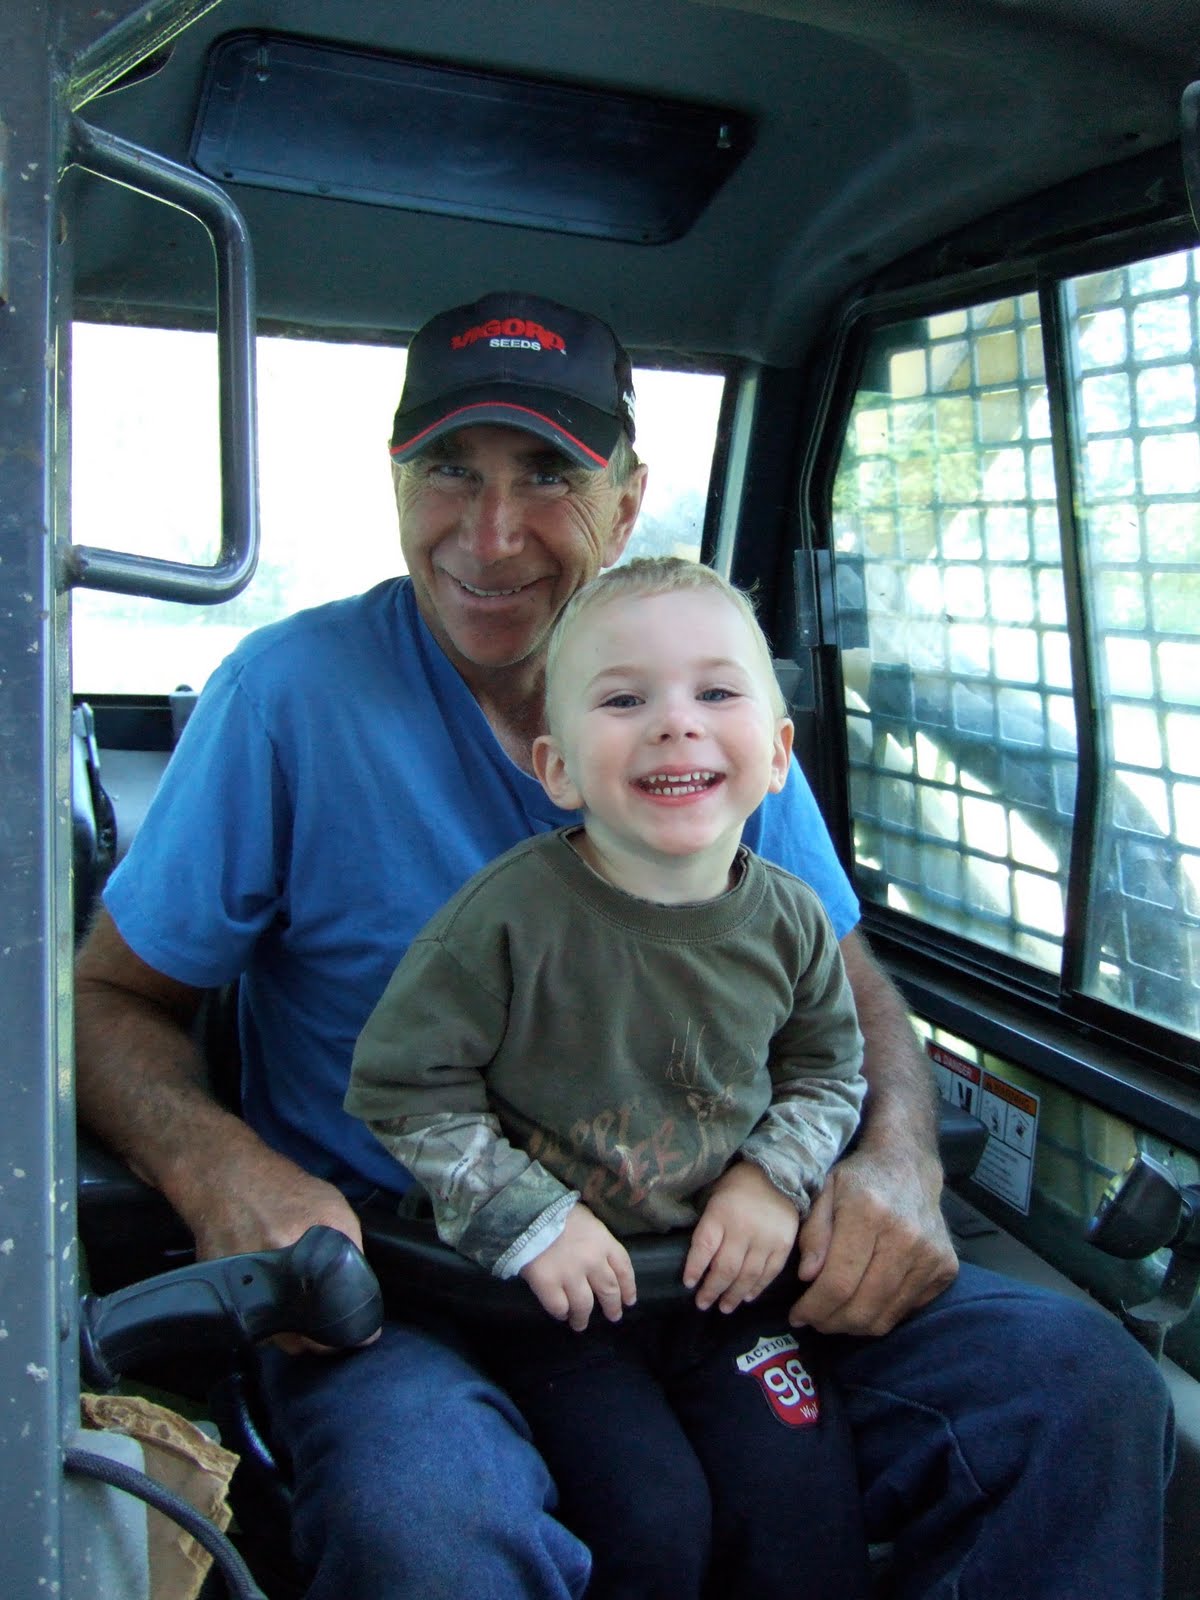
July 1-Riding the mini-loader with Grandpa Allan. Super cool!
July 4-Independence Day. Picking apples with Grandma Linda was an exciting event.
July 5-"Making do" without our kitchen stuff. Yes, that plate is a lid.
July 6-While we were moving in, Andrew was perfecting his ability to pull himself to standing. This is the wood-burning stove we'll be using during the winter months. Don't worry, I plan to use gates to make this inaccessible to little hands when in use!
July 9-We found this ninja outfit while unpacking. I had wrapped it up for a Christmas present, then hid it and forgot about it. So it was Christmas in July! Nevermind that he's waaaay too big for it now.
July 10-A hot humid day was a perfect chance to fill up water balloons. A huge water fight ensued! I think the adults had more fun than the kids. ;-)
July 11-Jeff's installation and ordination day.
All the cousins
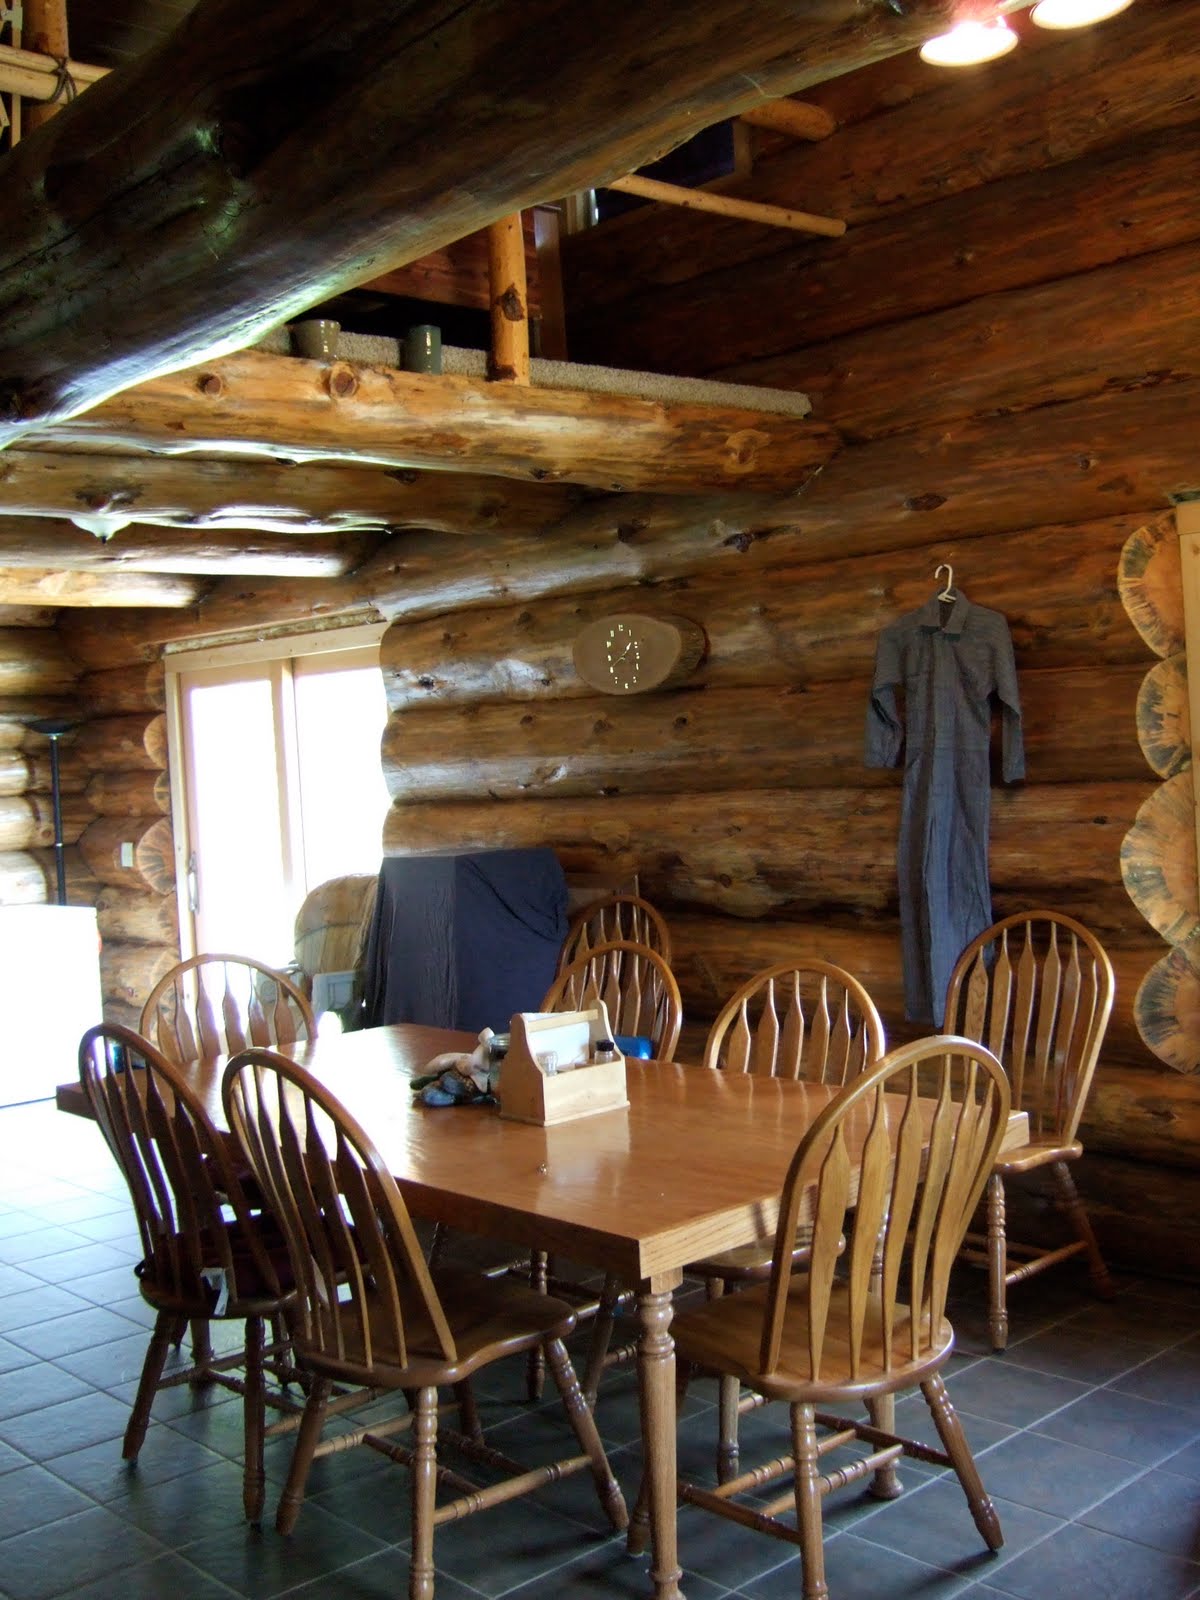
July 12-We were celebrating my 29th birthday while my folks visited (birthday is the 16th). It's messy, but this shows you a little of what the interior of the house looks like.
July 12-This picture is blurry, but I thought it was cute. I am taking the picture through the spaces in the steps that he was CLIMBING! He climbed all the way to the top with his daddy behind him. He thought he was big stuff!
Some recent pictures of the house after it's been (mostly) put in order. We had a little extra incentive to get things put away when we were told that the house was going to be shown by the realtor on Mon, July 19th! (For those that don't know, we're just renting this place till we can find another place a little more in our price range... but already we love it here. Jeff says we might want to buy it just because then we wouldn't have to move again, ugh!)

View of garden out front door
View out of sliding door
Wood burning stove!
Inside views from front door, you can see the stairs up into the loft.
There's the massive table that's been in storage all year! Now we have some space for it.
Up next, a long overdue recipe...